
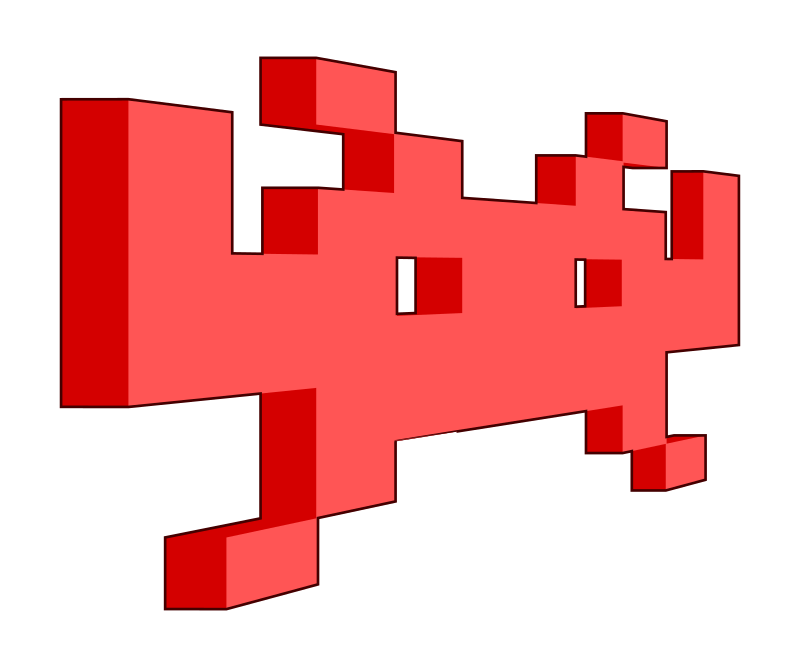
It got me thinking about making my own pictures using code. Perhaps even my own space invader animation!
To make your own Python Pixel Art you will need:
- Square paper
- Colouring pencils
- A Raspberry Pi or a Computer with Python installed
Instructions:
1. Taking a sheet of paper with squares, write 1 through to 9 across one row, and 1-6 down one column to make a grid.
2. Draw your design or space invader in this grid using colouring pencils.
3. On your Raspberry Pi or computer, open IDLE and create a new text editor file by clicking on File and New Window.
4. Start your code by importing the modules you will need:
import pygame, sys
5. Next setup your pygame window using:
pygame.init()
screen = pygame.display.set_mode([225, 150])
6. Next create variables for each of the colours that you wish to use. I've used red and white here, but you can use as many colours as you like:
r = pygame.Color("red")
w = pygame.Color("white")
w = pygame.Color("white")
7. Now for the fun part, writing the code that will create your picture. Here we can use an array in Python. This is where your diagram from step 1 comes in really handy. Look at row 1 on your drawing and type the first line between square brackets [ ]. Then do row 2, then row 3 and so on:
data = [
[ w, w, r, r, r, r, r, w, w ],
[ w, w, r, w, r, w, r, w, w ],
[ w, w, r, r, r, r, r, w, w ],
[ w, r, r, r, w, r, r, r, w ],
[ r, w, w, r, r, r, w, w, r ],
[ r, r, w, w, w, w, w, r, r ]
]
[ w, w, r, r, r, r, r, w, w ],
[ w, w, r, w, r, w, r, w, w ],
[ w, w, r, r, r, r, r, w, w ],
[ w, r, r, r, w, r, r, r, w ],
[ r, w, w, r, r, r, w, w, r ],
[ r, r, w, w, w, w, w, r, r ]
]
8. Next we use a for loop and enumerate to display the picture how we want it. Enumerate allows us to get both the index and the data at that index for every element of the array. For instance, the first time round the outer loop, y = 0 and row = [ w, w, r, r, r, r, r, w, w ].
for y, row in enumerate(data):
for x, colour in enumerate(row):
rect = pygame.Rect(x*25, y*25, 25, 25)
screen.fill(colour, rect=rect)
for x, colour in enumerate(row):
rect = pygame.Rect(x*25, y*25, 25, 25)
screen.fill(colour, rect=rect)
9. Finally we add the code that will run our pygame program and keep it displaying the image until we want to exit:
pygame.display.update()
while True:
for event in pygame.event.get():
if event.type == pygame.QUIT:
sys.exit()
while True:
for event in pygame.event.get():
if event.type == pygame.QUIT:
sys.exit()
This comment has been removed by the author.
ReplyDelete